
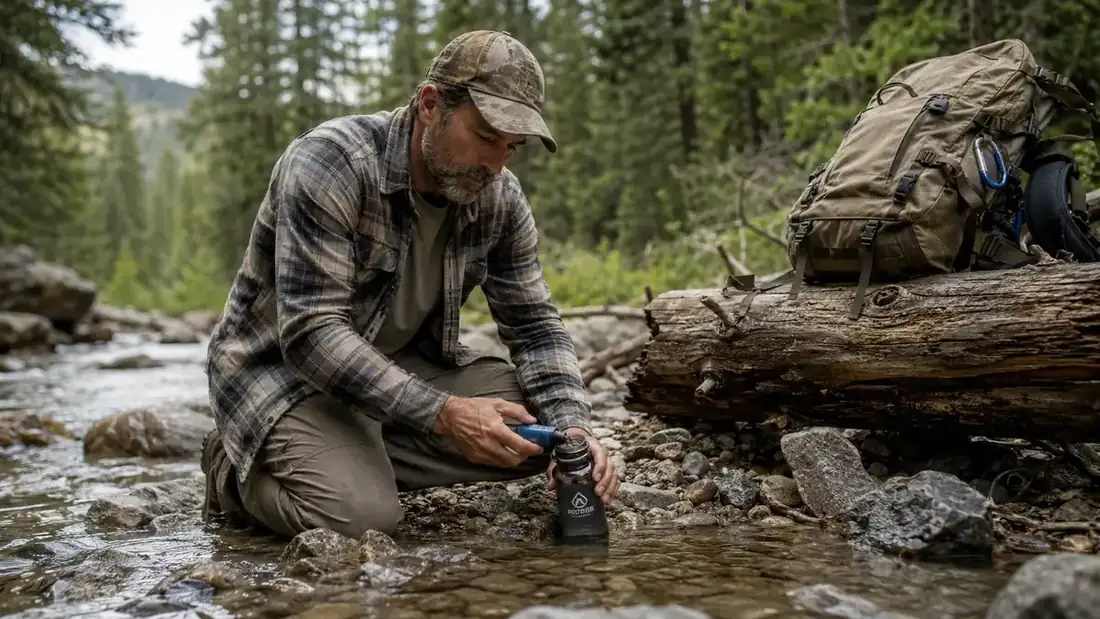
The first time I ran dry on a ridge in the Ouachitas with three miles left to camp, I told myself I'd never carry a heavy bottle filter again. That was the trip that got me onto squeeze filters, and I haven't gone back. A squeeze filter is nothing more than a hollow-fiber cartridge threaded onto a soft flask. You fill the flask from the creek, screw the filter on, and either squeeze the water through into a bottle or drink straight from the cap. No pumping, no waiting on gravity, no batteries to die on you halfway through a five-day loop.
I've used a few different squeeze setups over the years, but the one that's stayed in my pack the longest is the Katadyn BeFree. It's not the only squeeze filter on the market, and I'll be honest about where it falls short later on, but if you're new to this and want one piece of gear that just plain works, that's the one I hand to my nephews before their first backcountry trip. This guide walks through the same five steps I use on every single fill, from picking a source to cleaning the filter before I pack it away.
Skip the pump, skip the wait, skip the stomach bug.
The Katadyn BeFree fills, filters, and squeezes in under a minute per liter. It's the setup I reach for on every trip, from a Saturday day hike to a five-day backcountry loop.
Amazon Check Today's Price on Amazon →Step 1: Find a Good Water Source
Before you even pull the flask out, spend thirty seconds picking your spot. Moving water beats still water almost every time. A creek riffling over rock has more dissolved oxygen and less sediment sitting on the bottom than a stagnant pool off to the side. I look for a spot where the current is running clear, not the muddy water right at the bank where somebody's boots just churned it up.
Stay away from water sitting directly below a cattle pasture, a beaver dam, or a stock pond if you've got a choice. A squeeze filter handles bacteria, protozoa like giardia and cryptosporidium, and sediment just fine. What it won't touch is dissolved chemicals or heavy agricultural runoff, so use your eyes and your nose before you fill anything. If the water's got an odd sheen or smells like diesel, walk upstream or find another source.
On a dry ridge with no obvious creek, check your map for the nearest blue line and plan your mileage around it. I've learned the hard way that guessing you'll find water "somewhere up ahead" is how you end up rationing sips at 4pm with six miles still to go. Late summer especially, a lot of the little tributaries marked on older maps are bone dry by August, so I'll cross-reference a recent trip report or a ranger station call before I commit to a route that depends on one small creek.
Step 2: Fill the Flask
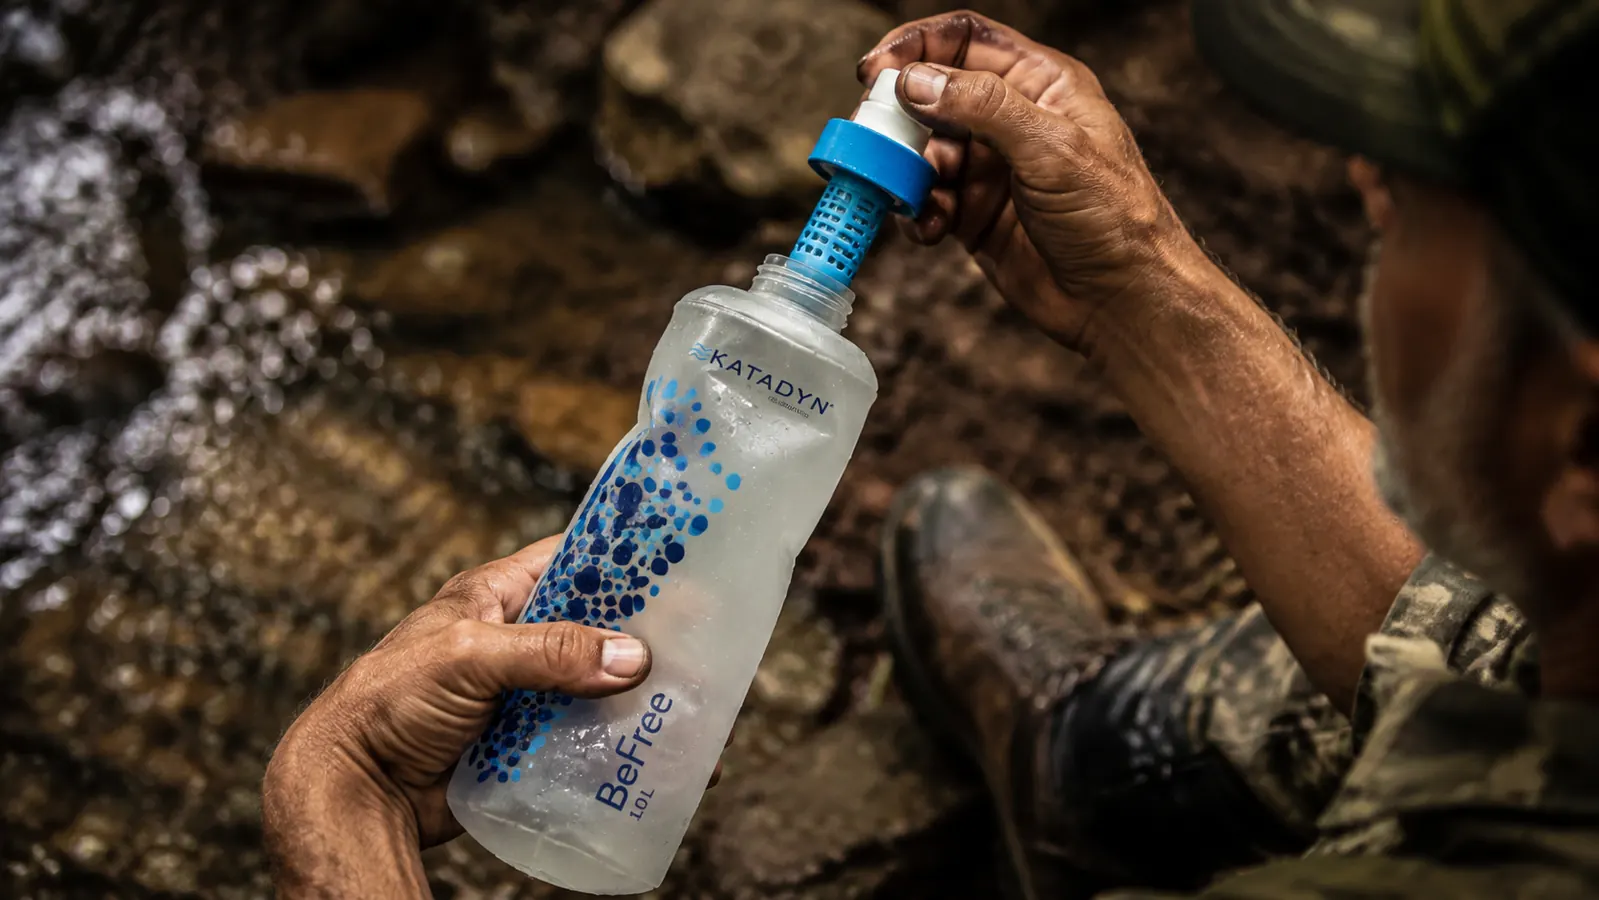
Unscrew the cap, dunk the flask on its side so the opening faces downstream, and let the current do the work. In slow water, I'll scoop it like a cup instead of trying to submerge it flat, since a flat scoop in still water just pushes a wave of silt in with it. Fill it most of the way, not all the way, since a soft flask needs a little air pocket to squeeze properly once the filter's threaded on.
If the water's got visible sediment, I'll let it sit for a minute so the heavier particles settle before I screw the cap on. It's not required, but it keeps the filter from clogging early, and a clean filter today means faster flow tomorrow. In shallow trickles where you can't get the flask fully in the current, a bandana stretched over the opening as a pre-filter for leaves and grit saves you some scrubbing later.
One habit that's saved me more than once: fill two flasks back to back at a good source, even if you're not thirsty yet. Water sources dry up between trip reports and real life, especially in late summer, and having a spare liter already collected means you're not backtracking half a mile because the next marked source turned out to be a dry wash.
Cold weather changes this step a little. When there's ice at the bank, I'll break a hole with a trekking pole tip rather than trying to fill from the frozen edge, since ice chips in the flask don't hurt anything but they slow the fill down. If the water's running under a skim of ice, it's usually still moving underneath, which is exactly the kind of source I trust over a puddle that looks clear but isn't going anywhere.
Step 3: Screw On the Filter Cap
This part is simple but worth doing right. Thread the squeeze filter onto the flask until it's snug, not cranked down like a jar lid. Overtightening a soft flask thread is the fastest way to strip it, and a stripped thread means water leaking around the seal every time you squeeze. I check the O-ring seat with a glance before I screw it on, especially if the filter's been rattling around loose in a hip belt pocket all day.
The Katadyn BeFree threads on in about two turns and seals flush without needing much muscle. That's actually one of the small things that sold me on it over the pump-style filter I carried before, since cold hands on a November morning don't want to fight with tight threads. Once it's on, give the flask a light squeeze before drinking to make sure water's coming through the outlet and not seeping around the cap.
One thing worth knowing if you hike in cold weather: any hollow-fiber filter can crack if it freezes solid with water still inside it. I keep mine in an inside jacket pocket overnight on shoulder-season trips rather than leaving it in an outside pack pocket where the temperature drops well below freezing. A cracked filter still screws on fine, it just quietly stops filtering, which is a lot worse than it sounds if you don't catch it.
Step 4: Drink Straight From It or Squeeze Into a Bottle
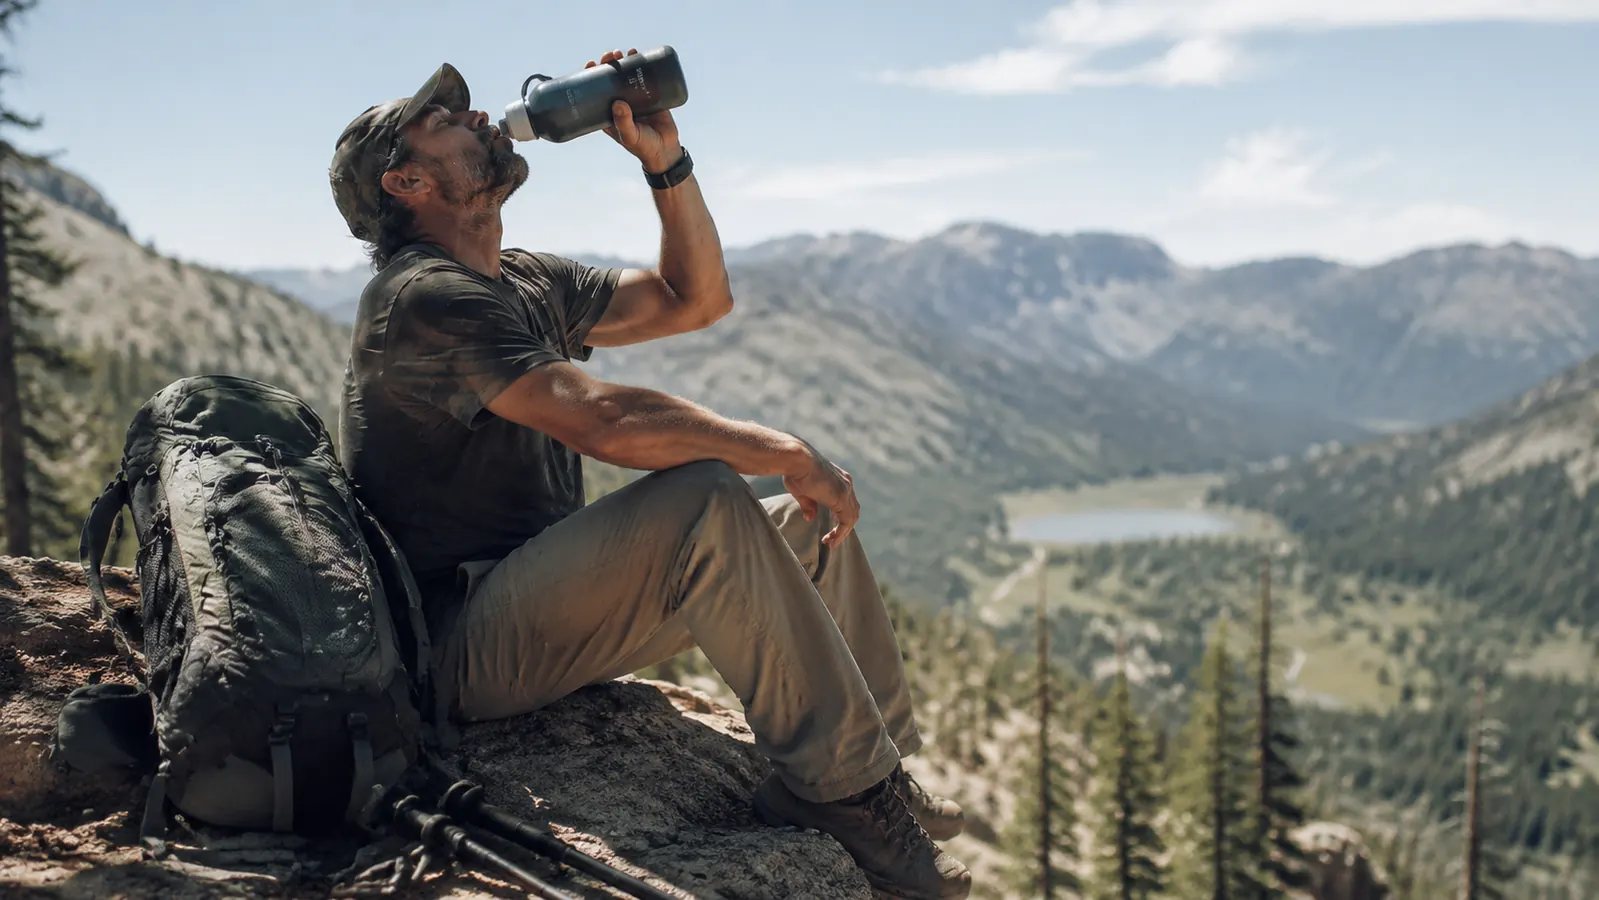
This is where a squeeze filter earns its keep over a gravity setup or a pump. You've got two options, and I use both depending on the situation. If I'm taking a break at the source and just need to hydrate, I drink straight from the filter cap the same way you'd sip from a soft-top water bottle. Squeeze gently, and filtered water comes out the spout while the flask collapses down.
If I need to carry filtered water down the trail, I'll squeeze the flask through the filter into my hard-sided bottle or hydration bladder before I move on. That way I've got clean water ready to go without having to filter again mid-hike. On a hot stretch with no water sources for a few hours, I'll fill and squeeze two or three flasks in a row at the last good creek, topping off everything I'm carrying before I leave that spot.
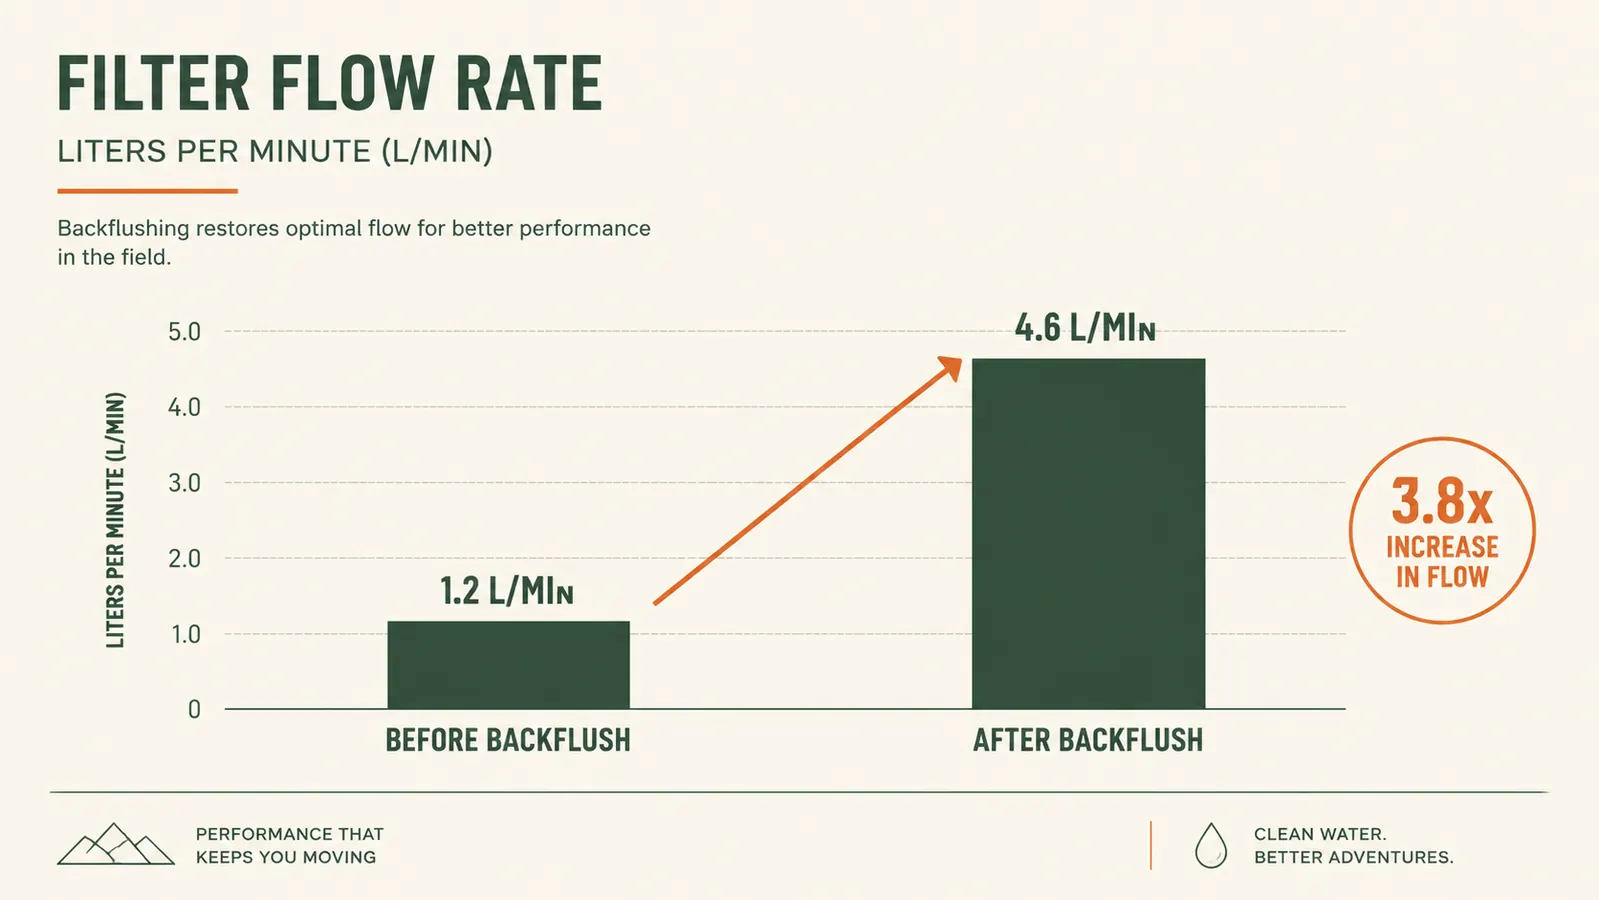
Flow rate matters more than people expect until they're standing at a creek with four empty bottles and daylight running out. The BeFree pushes close to two liters a minute when the filter's fresh, which is fast enough that filling a full hydration bladder doesn't feel like a chore. That speed drops as the filter picks up sediment over a trip, which brings us to the step most people skip.
A small technique note that took me longer to figure out than it should have: squeeze from the bottom of the flask upward, rolling it like toothpaste instead of gripping it in the middle. It pushes water toward the filter more evenly and you'll get a full liter through with noticeably less hand fatigue by day three of a trip.
Step 5: Backflush When You're Done
Backflushing is the one step I see beginners skip, and it's the reason their filter feels useless by day three of a trip. Most squeeze filters, including the BeFree, come with a small syringe or built-in backflush cap. Fill it with clean, already-filtered water, then push that water backward through the filter cartridge, opposite the direction you normally drink from. This knocks loose the sediment that's built up inside the hollow fibers.
I backflush at camp every evening on a multi-day trip, not just when the flow slows down. It takes maybe two minutes and it's the difference between a filter that still moves a liter in thirty seconds on day five and one that takes three minutes and leaves your forearm sore from squeezing. Never use soap or anything besides clean water for a backflush unless the manufacturer specifically says otherwise, since soap residue can degrade the fiber membrane over time.
Before I pack the filter away at the end of a trip, I do one more thorough backflush, shake out any standing water, and let it air dry before it goes back in the stuff sack. A filter that sits wet and sealed in a dark pocket for weeks between trips is asking for mold in the housing. Five minutes of care at the end of a hike buys you a filter that's ready to go the next time you're standing at a trailhead.
What Else Helps
A squeeze filter handles the biological stuff, but it's not the only tool worth carrying. I keep a small bottle of chlorine dioxide drops in my first aid kit as a backup in case the filter cracks or clogs beyond field repair, which has happened to me exactly once in a freak fall on a rock crossing. I also carry a spare O-ring for the filter cap, since it's the one part small enough to lose and cheap enough to replace before a trip rather than mid-hike.
I always know where the next water source is on the map before I leave the last one, because the best filter in the world doesn't help if there's no water to run through it. On longer trips I'll also boil a liter each night for the coffee and the dehydrated meals, which doubles as a check that my stove's working right and gives the filter a rest from doing every drop of the trip's water.
The gear doesn't save you. Knowing where the water is and how to treat it when you get there does. The filter just makes the second part fast.
Five steps, no pump handle, no waiting around.
Fill it, thread it, squeeze it, backflush it at camp. That's the whole system, and it's why the Katadyn BeFree has stayed in my pack longer than any other filter I've owned.
Amazon Check Today's Price on Amazon →