
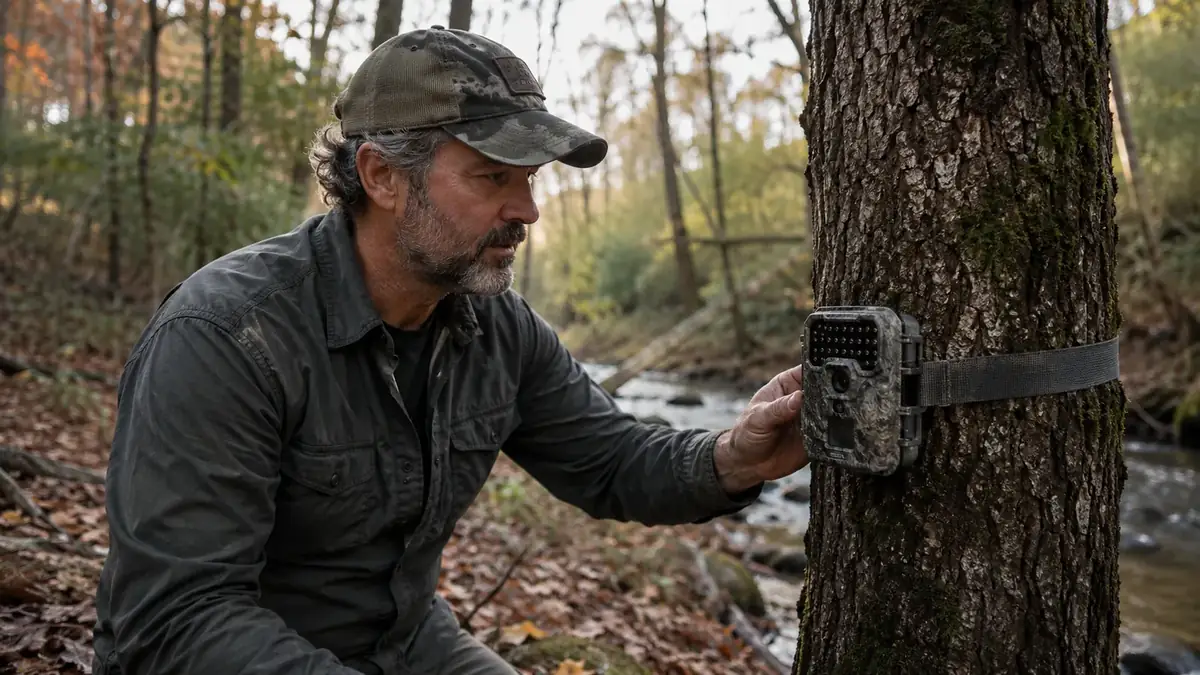
I've hunted the same three hundred acres of oak flats and creek bottom in Osage County for twenty years, and for years I scouted the way my daddy did: boot leather and guesswork. I'd walk a trail, see a rub or a scrape, and convince myself deer moved through there every night. Half the time I was wrong. I'd sit a stand three cold mornings straight and see nothing but squirrels, then learn later the buck I wanted was cutting through a fence gap two hundred yards east the whole time.
A trail camera fixes that, but only if you set it up right. I've seen more cameras strapped to trees at the wrong height, aimed straight into the morning sun, or left with dead batteries three weeks into the season than I can count, mine included. This guide walks through what actually matters: height, angle, which trail you pick, dialing in the detection zone, and pulling photos off the card without spooking every deer on the property. I run a GardePro E6 on this ground now, and once I got these five steps right, it started earning its keep.
The other reason this matters is time. Most guys don't put a camera up until two or three weeks before opening day, then wonder why they haven't figured out a pattern. I like mine up and running by late August, through the whole velvet-shedding stretch into the first cold fronts of October, because a buck's core area and daylight movement in early fall is a different animal than what you'll see once does start cycling in November. Give the camera time to build a real data set instead of a snapshot.
Get a Camera That Actually Earns Its Battery Life
The GardePro E6 gives you a stable WiFi connection to check photos from your truck instead of walking the trail every time, no-glow night vision that doesn't spook deer, and a 64MP daytime image that's actually usable when you're trying to judge a rack from thirty yards out.
Amazon Check Today's Price on Amazon →Step 1: Get the Height Right
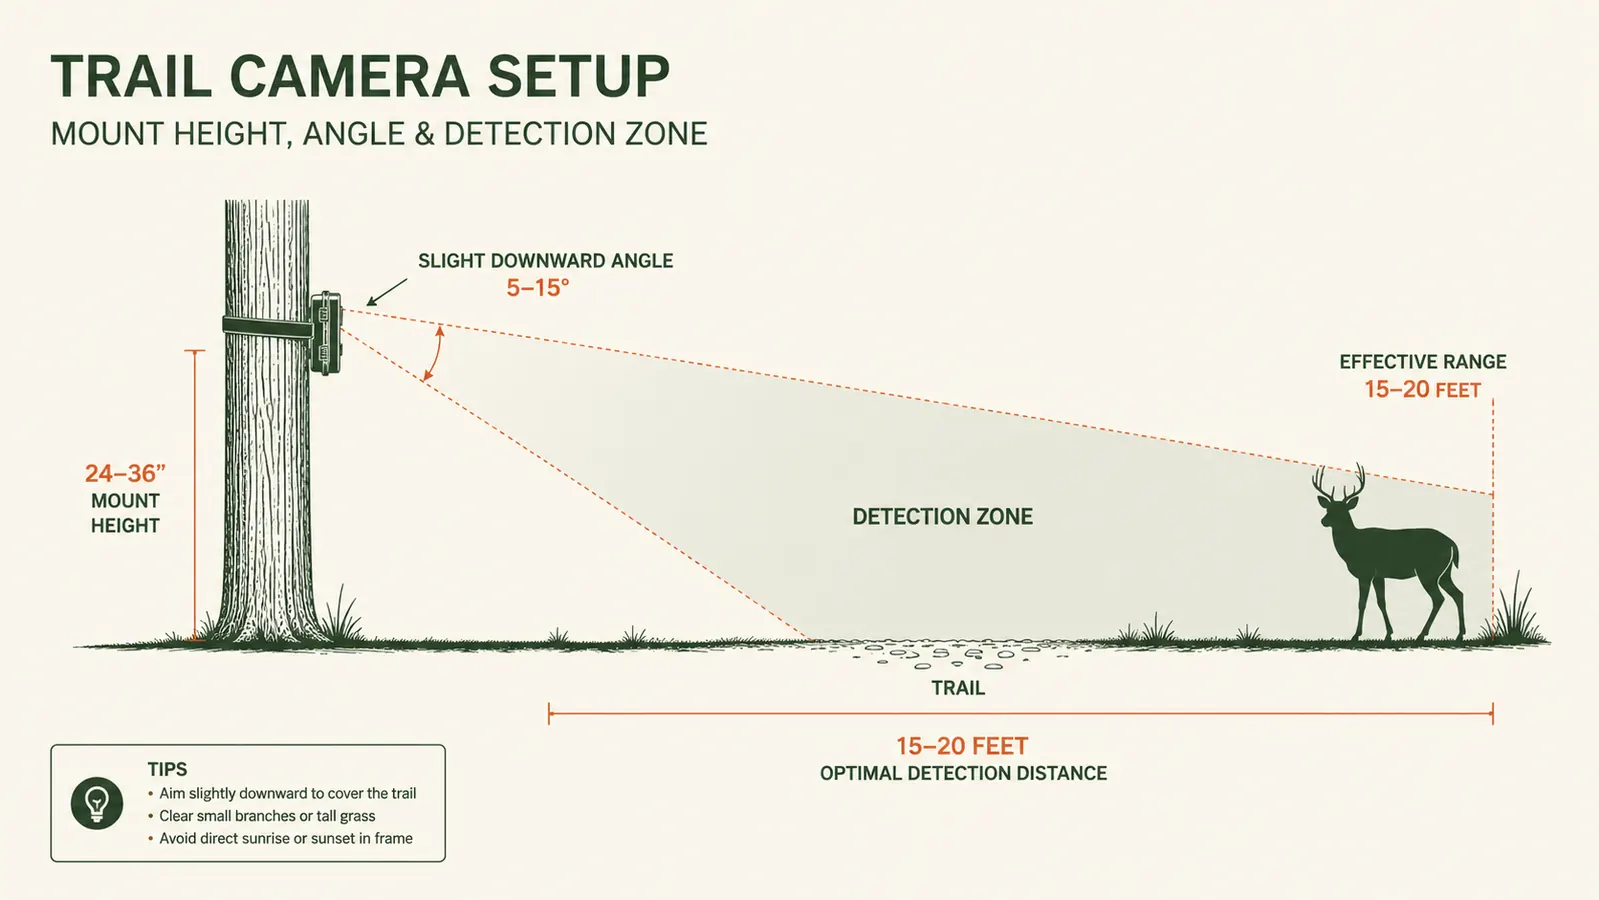
Most of the bad photos I see from guys starting out come from a camera mounted too high, angled down at a doe's back instead of her face. I mount mine right around waist height, somewhere between 24 and 36 inches off the ground depending on the slope of the ground under the tree. A deer's chest and shoulder, the part of the animal that fills the frame and lets you judge body size and antler spread, sits right in that band.
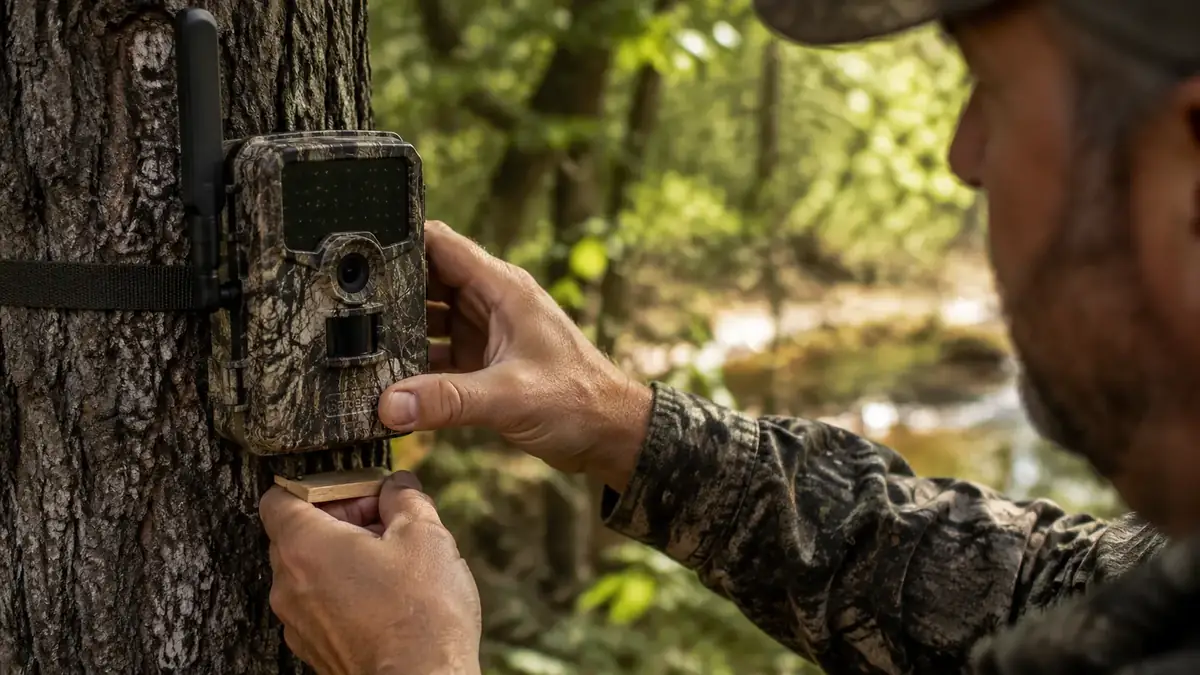
If you're hanging the camera higher because you're worried about theft or bumping deer when you walk in, at least angle it down a few degrees to compensate. I've got a scrap of 2x4 I carry in my pack just to prop the bottom of the camera out from the tree trunk so the angle comes out right instead of shooting straight out into open air over a small deer's back.
I also pay attention to what's actually growing at that height. A camera strapped over a thick clump of buck brush or waist-high ragweed will trigger on wind-blown vegetation all day and bury real deer photos under hundreds of blank frames. I clear a lane by hand in front of the lens before I ever turn it on, even if it means trimming a few branches I'd rather leave alone.
Step 2: Angle It North or South, Never Into the Sun
This one cost me a whole month of usable photos two seasons back. I hung a camera facing due east on a trail that looked perfect on paper, and every photo from about 6:45 to 7:30 in the morning came back washed out white, or worse, triggered a false shot from sun flare that ate through my SD card space before I ever checked it. Same thing happens facing west in the evening.
Now I try to keep the lens pointed north or south whenever the trail allows it. If the trail itself runs east-west and I can't avoid it, I'll angle the camera slightly off the trail rather than dead center, enough to catch deer walking through without staring straight into the rising or setting sun. It's a small adjustment that saves you from deleting half your card's worth of glare shots.
Before I walk away from a fresh hang, I'll trigger a test photo standing right where I expect deer to walk, then check it against the sun's position for that time of day using a compass app on my phone. It takes thirty extra seconds and it's saved me from finding out three weeks later that I hung a camera facing the wrong way.
I've also started paying attention to how the sun moves through the different mounting seasons. A tree that throws good shade in September might let full sun rake across the lens once the leaves drop off in November. I'll walk back out mid-season just to check the angle again, because a camera that worked perfect on day one can start producing washed-out photos six weeks later once the canopy thins.
Step 3: Pick the Right Trail, Not Just Any Tree
A lot of guys pick a tree because it's convenient, close to the truck, easy to climb up to. I look for pinch points instead, spots where the terrain naturally funnels deer, a creek crossing, a saddle between two ridges, a fence gap, the corner where a hardwood bottom meets a cut bean field. Those spots produce ten times the traffic of a random trail sitting out in open timber.
I also try to mount the camera so it's looking down the trail rather than straight across it. A deer walking toward the lens sits in the detection zone for two or three extra seconds before the trigger fires, compared to one that's crossing perpendicular and clears the frame in under a second. That extra second is the difference between a clean photo of a shooter buck and a blurry back half disappearing off the edge of the frame.
Water sources deserve the same treatment as trails once the weather turns hot early season, and again if you get a dry fall. A pond edge or a stock tank access point will pull deer from well outside your normal travel corridors, and it's often where I get my first look at a buck that never shows up on my main trail cameras at all.
Step 4: Dial In the Detection Zone and Sensitivity
The GardePro E6's motion sensor picks up movement and heat difference out to around 65 to 80 feet depending on the temperature outside, but the trigger speed and detection cone matter more than raw range. I set mine back about 15 to 20 feet off the actual trail so I'm not clipping the front half of a deer that's already halfway through the frame by the time the shutter fires.
On sensitivity, I run mine high through the cooler months of October and November when body heat contrast against the background is strongest, and I'll drop it to medium in early season when it's still warm and I'm getting false triggers off swaying grass or branches. Check your first week of photos and adjust up or down from there. If you're getting empty frames with nothing in them, your sensitivity is probably set too low, or the detection zone is set too far off the trail to catch anything walking through it.
I also test the detection zone by walking through it myself before I leave the site, both close to the lens and out at the far edge of where I expect deer to cross. If the camera doesn't fire on me at a slow walk from twenty feet out, I know the sensitivity or distance is set wrong before I ever waste a week of battery life finding that out the hard way.
Step 5: Set Up SD Card and WiFi So You Actually Check It
Format a fresh SD card in the camera itself before your first hang, not just a wipe on your computer, it prevents file corruption down the road. I run 32GB cards, enough to hold a full month of photos even on a well-traveled trail without filling up before I get back out there.
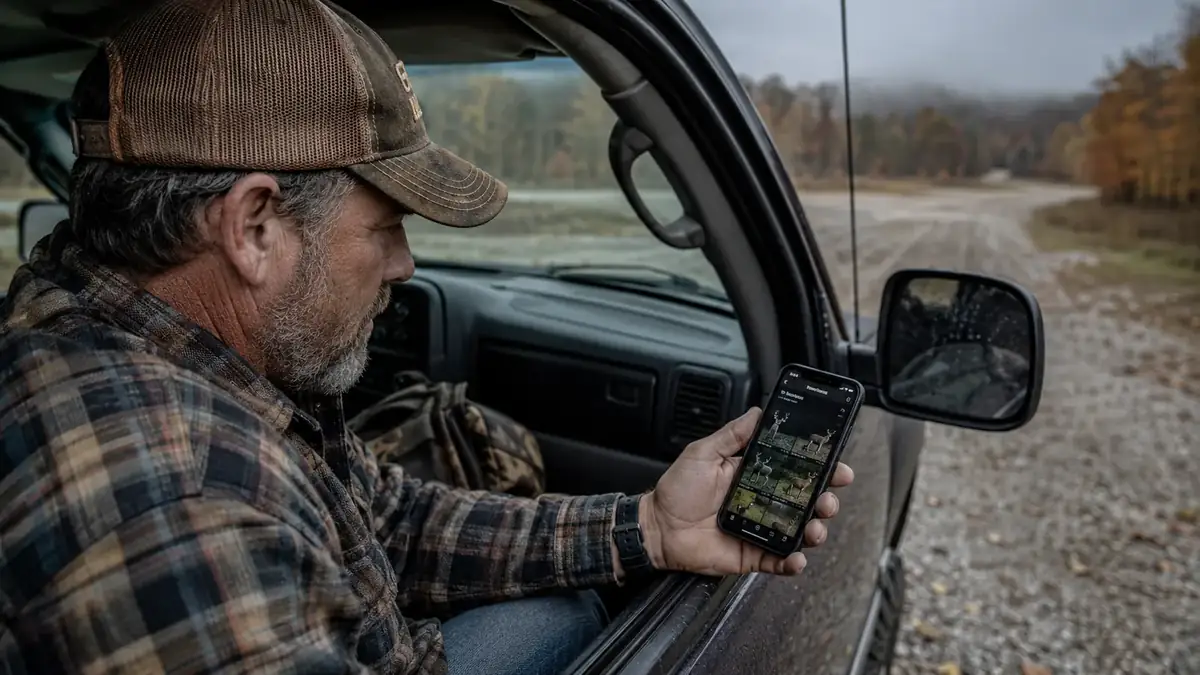
The reason I switched to the GardePro E6 in the first place was the WiFi app. Instead of walking in every week and bumping deer off the property to pull a card, I can sit in my truck at the end of the driveway and pull the last few days of photos straight to my phone. That alone cut my human scent intrusion on the property by more than half, and I'm convinced it's part of why I'm seeing more daylight buck activity than I did running my old camera that needed a physical card pull every single visit.
I keep a spare set of batteries in the truck at all times, lithium, not the cheap alkaline ones, because they hold up better in cold weather and don't leak inside the camera body the way alkalines sometimes do after a long winter. Dead batteries are the single most common reason I hear from guys who say their camera stopped working when nothing was actually wrong with it.
I also label each camera with a strip of tape noting the date I hung it and the SD card number, so when I'm swapping cards in the dark before daylight I'm not guessing which card came from which trail. Small thing, but it's saved me from mixing up two months of data more than once.
What Else Helps
A camera alone won't build you a pattern. I pair mine with a mineral site about 40 yards off the main trail, checked separately, and I run a second, cheaper camera on an adjacent trail so I can cross-reference which route a specific buck actually favors on which nights. I also log wind direction every time I check photos so I can start connecting travel patterns to the conditions that produce them, not just the trail itself.
I also rotate cameras between two or three spots every three to four weeks rather than leaving one in the same spot all season. Deer pattern around a camera flash or a strange scent left behind almost as much as they pattern around food and cover, and giving a spot a rest period keeps the data honest instead of training the deer around your equipment.
Pressure from neighboring land matters too. I keep a rough map of property lines and check wind data alongside my camera photos so I can tell whether a buck showing up on my card is just passing through because he got pushed off a neighbor's place during their gun season, or whether he's actually bedding and living on ground I control.
The camera didn't just show me where the deer were walking. It showed me how wrong I'd been about my own property for twenty years.
Stop Guessing Where They're Walking
Get the GardePro E6 up on your best pinch point before the rut kicks in. Between the no-glow night vision and the WiFi pull, you'll have a real pattern to hunt off of instead of a hunch.
Amazon Check Today's Price on Amazon →